

Energy Warp
Sunday, September 27, 2009

Create a new image with square dimensions ( we used 400x400px ) with a "transparent" background. Press D to reset the Color Palette.
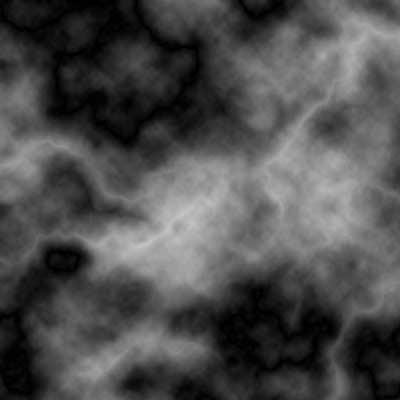 Render some Clouds ( Filter > Render > Clouds ). Next, render Difference Clouds ( Filter > Render > Difference Clouds ) four times. Do this by using the top menu to execute the Difference Clouds filter once, then pressing Ctrl-F 3 times to repeat the last filter (in this case Difference Clouds) three times.
 Apply the Color Haftone filter ( Filter > Pixelate > Color Halftone ) with a Radius of 4 pixels and every Channel set to 90 degrees.
 Use the Polar Coordinates Filter ( Filter -> Distort -> Polar Coordinates ) and choose Rectangular to Polar.
Finally, apply a Radial Blur ( Filter > Blur > Radial Blur ) with the Amount set to 100, the Blur Method set to Zoom, and the Quality set to Good.
Press Ctrl-F to repeat the Radial Blur.
If you are doing this tutorial in prepartion for the Trippy Wave tutorial, please click HERE to return.
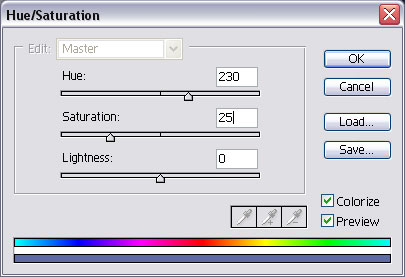 Open the Hue/Saturation menu ( Image > Adjustments > Hue/Saturation ) and use the following settings to the left.
 Duplicate the layer and change the Blending Mode of the new layer to "Overlay".
Optional: If you wish to add more color, create a new layer above all the existing layers. Set the Blending Mode of this layer to "Color". Now add color to this layer and it should add color to the warp.


0 comments:
Post a Comment